


How to Light a Somerset Grill
Lighting a Somerset Grill correctly ensures an efficient burn, minimal smoke, and a steady supply of embers for perfect wood-fired cooking. The Top-Down Method is one of the most effective techniques for creating a clean and controlled fire.
The Top-Down Method: Fire Lighting for Wood-Fired Cooking
Follow these steps to build and light your fire properly:
Step 1: Build the Base
Start with a layer of larger hardwood logs at the base of the ember maker.
Add a second layer of smaller logs on top to help the fire spread evenly.
Step 2: Add the Firelighter
Place a natural firelighter on top of the logs.
Step 3: Build the Kindling Tower
Surround the firelighter with a small tower of kindling to help ignite the larger logs efficiently.
Step 4: Light the Fire
Ignite the firelighter and let the flames work downward through the logs.
Allow the fire to establish itself before making any adjustments.
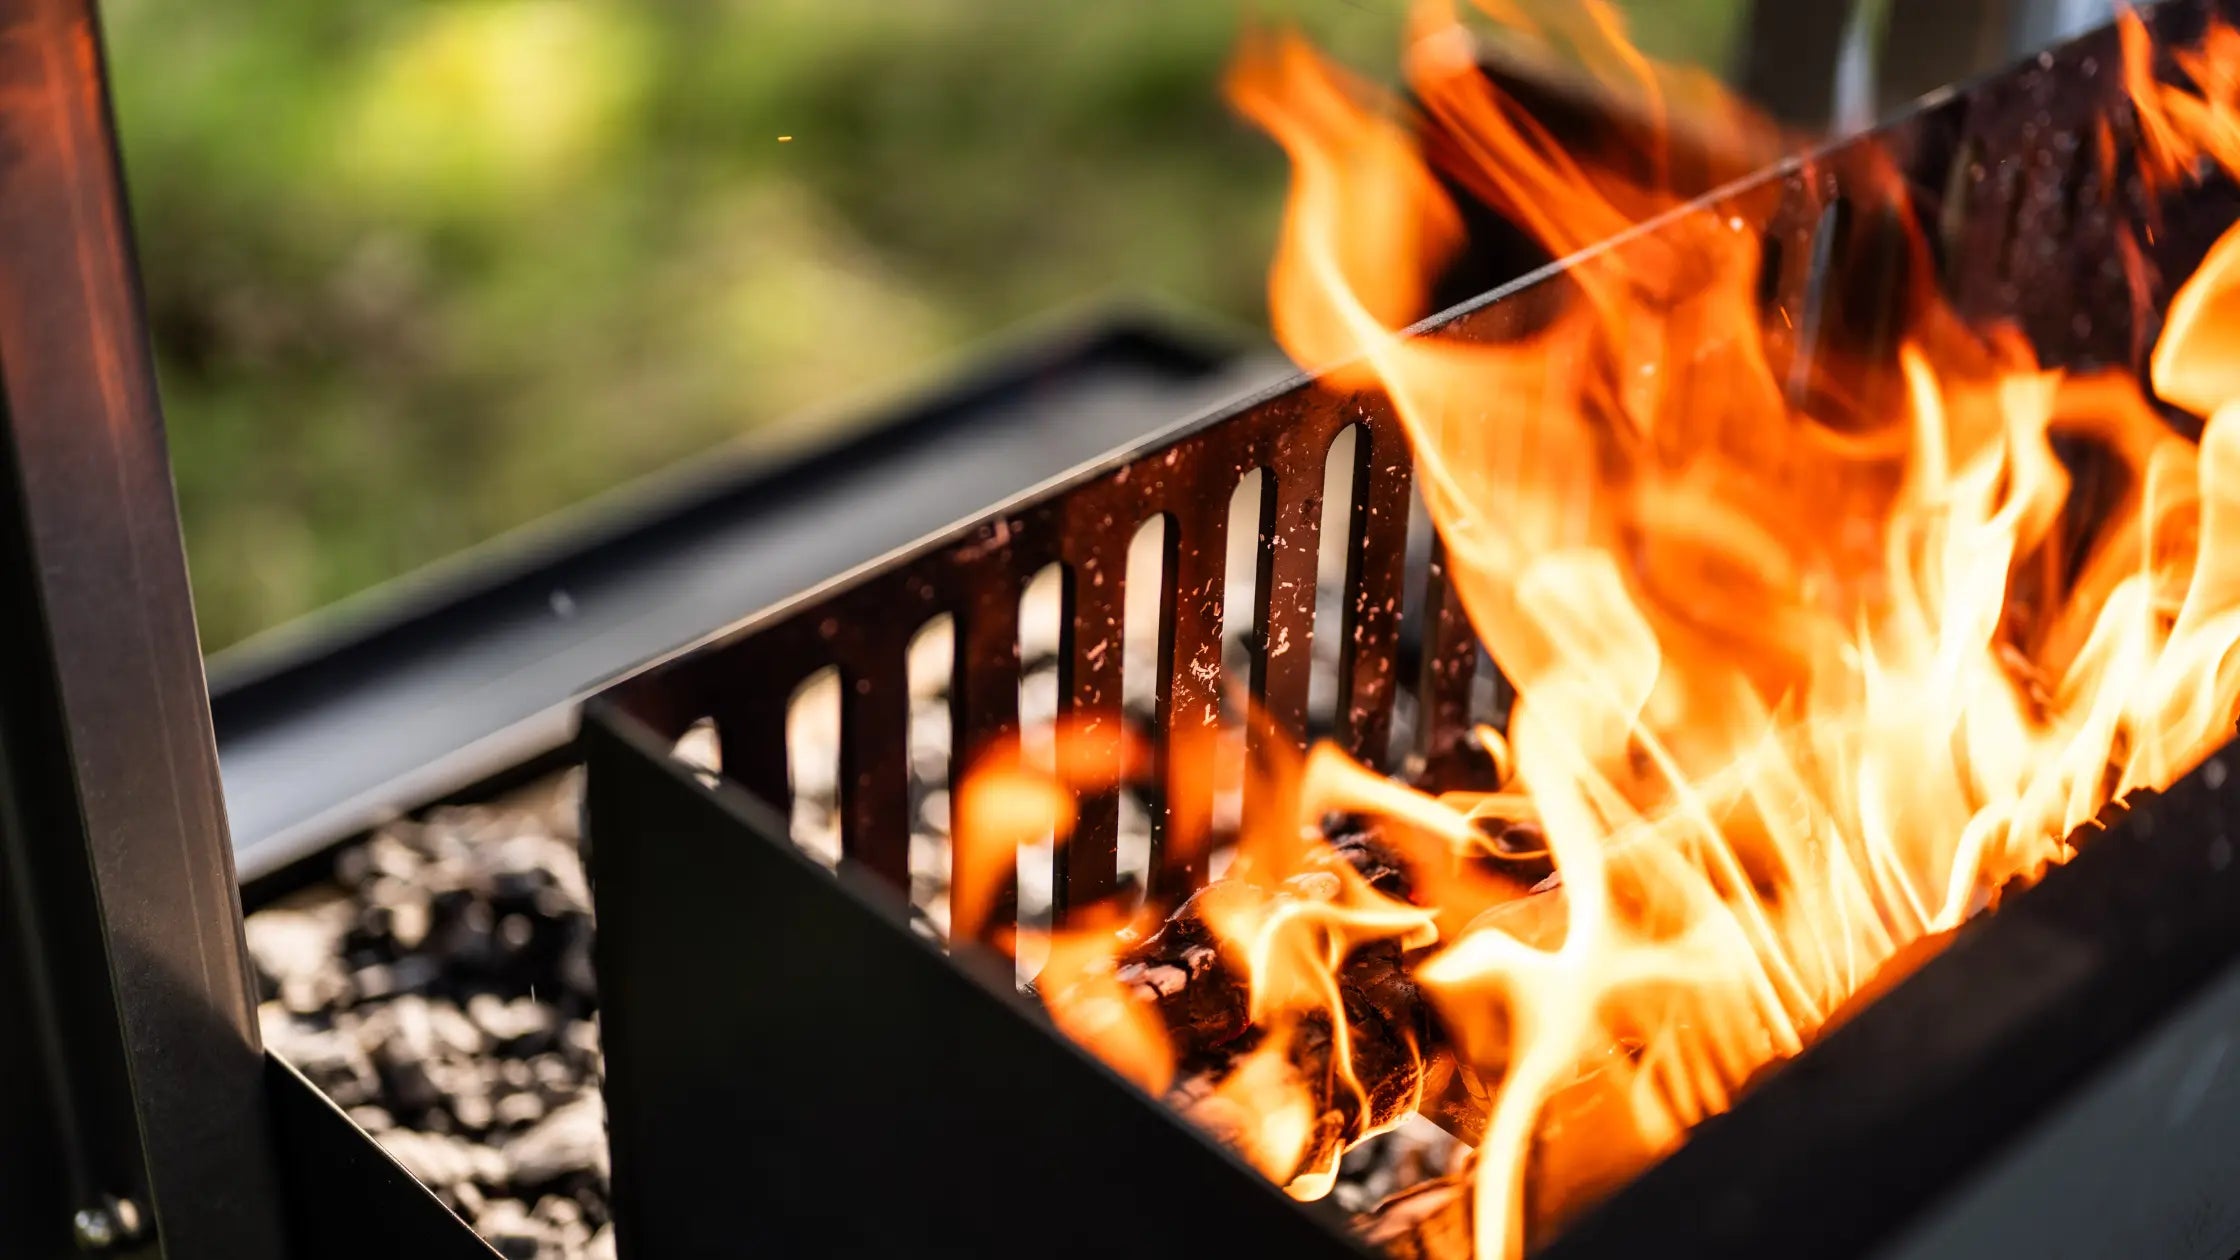
Step 5: Knocking the Embers
As the fire burns, embers will naturally drop down from the ember maker.
Sometimes, to get the embers to drop, they will need a knock with the ember rake to encourage a steady flow into the cooking area.
Step 6: Keep Adding Wood
As the older logs break down into embers, continue adding new logs to maintain a steady burn.
It will take around 1 hour to build up a good bed of embers that’s ready for cooking.
Step 7: Maintaining the Bed of Embers
Once the ember bed is established, keep a smaller fire burning in the ember maker.
Aim for every 20 minutes, having new embers entering the bed, ensuring consistent heat throughout your cook.
This technique allows you to maintain the perfect cooking temperature for wood-fired grilling.
Video
Top Tips for Lighting a Somerset Grill
1. Airflow is Key
Ensure there is good spacing between the logs to allow proper airflow. This helps the fire start efficiently and reduces excess smoke.
2. Use the Right Wood
Choose high-quality hardwood logs with a moisture content of less than 20% for a clean, steady burn.
Dry wood burns hotter and with less smoke—happy fire = happy neighbours!
3. Avoid Large Logs
The goal is to build a strong ember bed quickly. Large logs take too long to burn and can waste heat energy.
4. Timing is Everything
Allow about an hour to build up a solid bed of embers.
Once established, keep a small fire in one corner of the ember maker to generate fresh embers every 20 minutes.
5. Check the Cooking Temperature
A simple way to gauge the heat is the hand test:
Hold your hand at cooking height above the embers—if you can hold it there for about 10 seconds, the temperature is just right for grilling.
Final Thoughts
Mastering the Top-Down Method for lighting your Somerset Grill ensures you get a consistent, high-quality ember bed for authentic wood-fired cooking. With the right wood selection, airflow, and ember management, you’ll be ready to cook restaurant-quality flame-grilled food in no time.
👉 Want to learn more about the best wood for wood-fired cooking? Click here to find out more.

What is The Best Wood for Wood-Fired Cooking?
The Best Wood Suppliers for Live Fire Cooking on an Argentinian Parrilla Grill I often get asked: "What is the best wood for live fire cooking on an Argentinian Parrilla-style grill?" So, I thought...
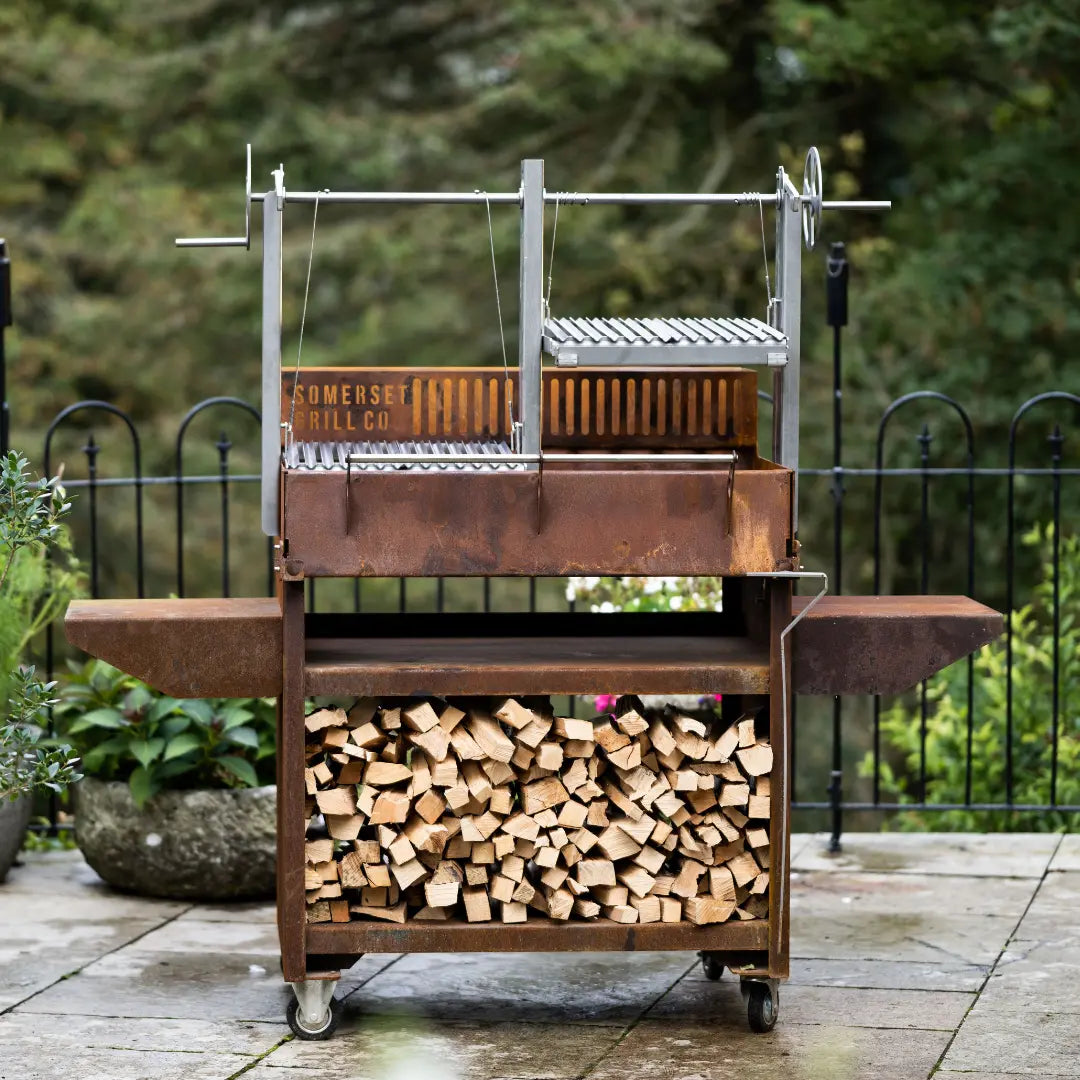
Experience Argentinian inspired fire cooking, with your own unique and versatile wood-fired Grill. Combining quick and easy temperature control with continual ember supply and multiple cooking zones. Imagine producing amazing steaks, slow roasts, fish, casseroles, and for family and friends outdoors.
Explore The Grills